How do you create an email widget?

Daniel Emojics
Last Update 4 jaar geleden
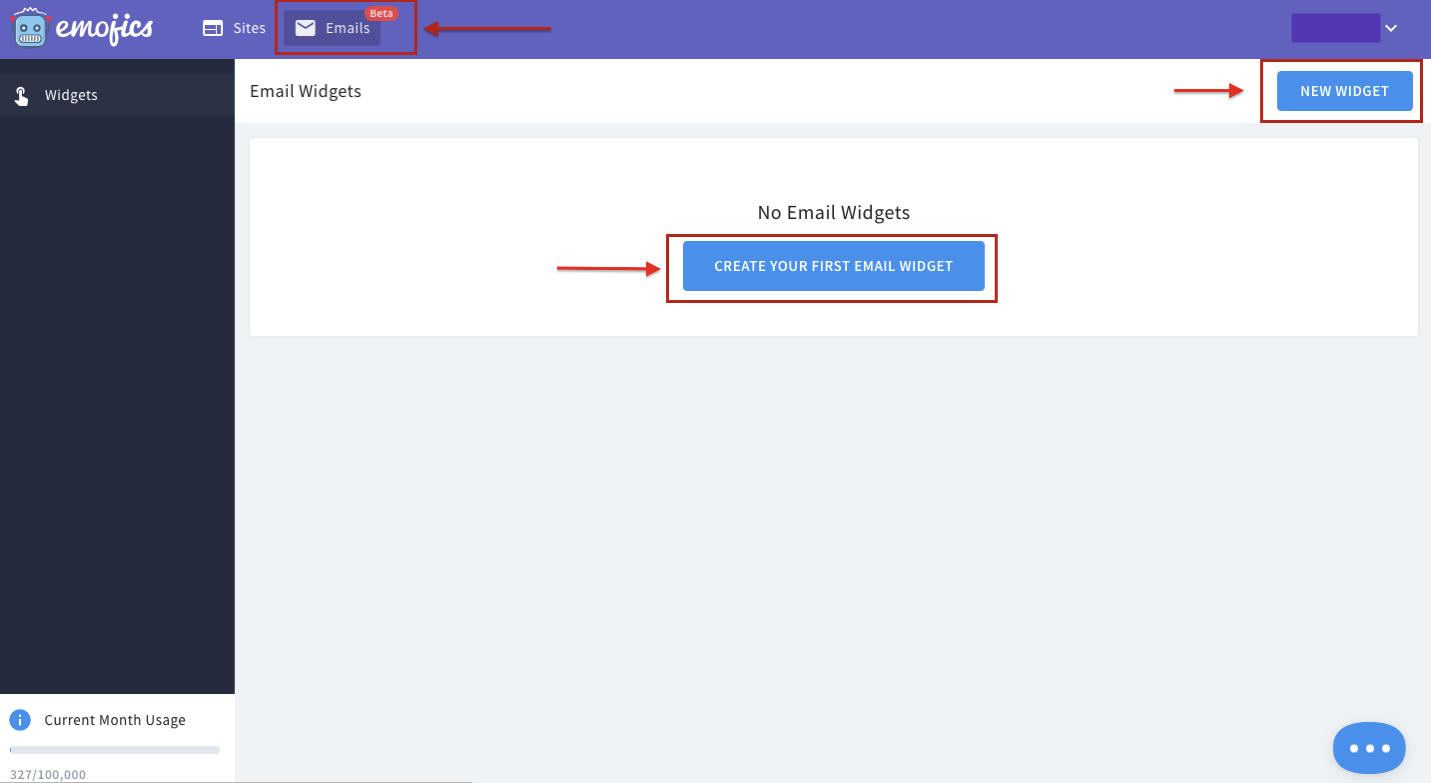
Once you are logged in to your Emojics account, you will be automatically directed to the "Sites" section. From there, click on the "Emails" button at the top of the page.
If this is your first time creating an Email widget, click on the "Create your first Email Widget" button.
If, on the other hand, you have already created an Email widget before, click on the "New Widget" button at the top left to add a new widget.
Now you can begin to create your new Email widget.
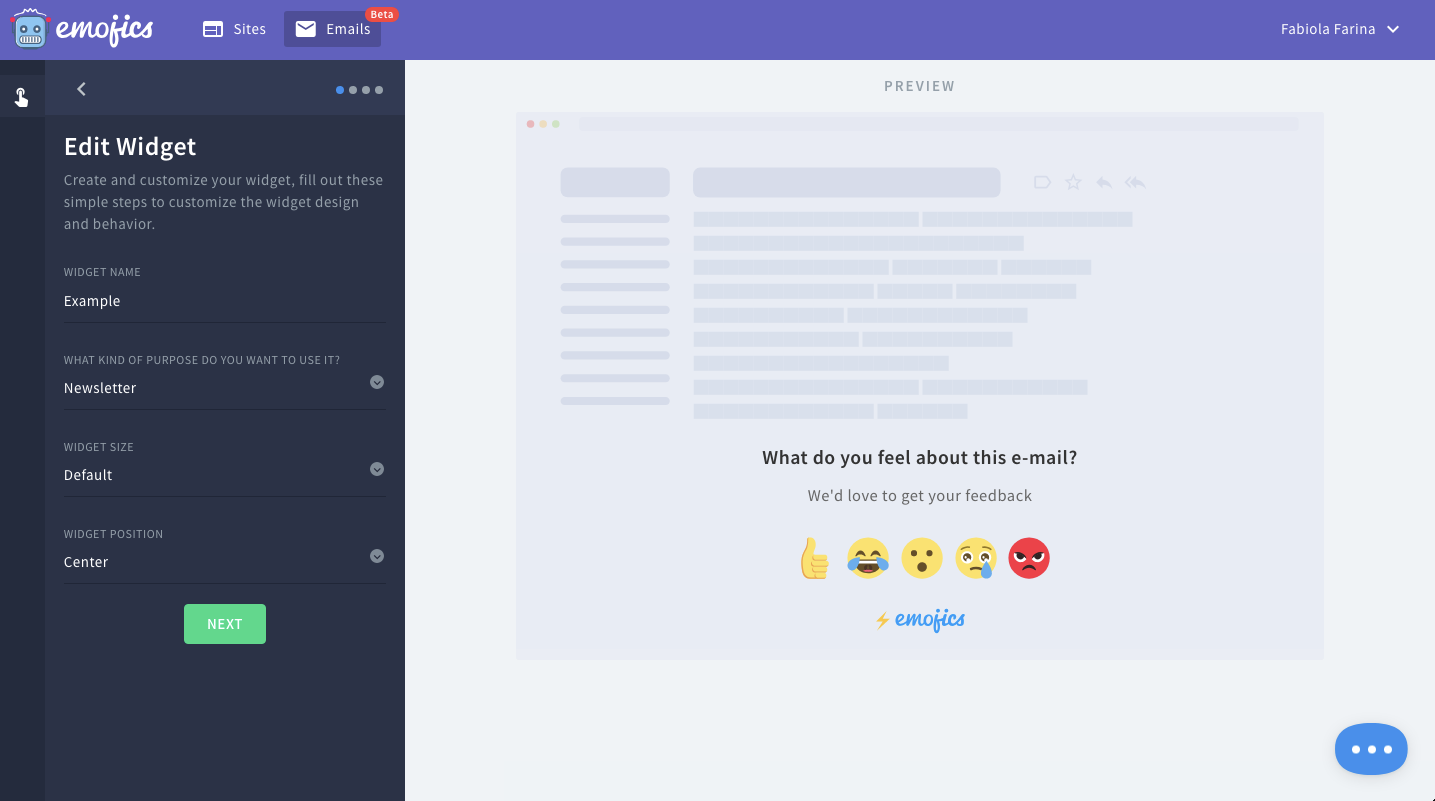
The first step will be to determine the basic characteristics of your desired widget:
- The name of your widget. In our case, we’ve called it "Example" for the purpose of this tutorial.
- The type of widget you want to create. This is done by selecting a value from the options available. For example, is it a newsletter widget? A personal email? Or is it to evaluate your customer support?
- The size of the widget in your email. You can choose between default or small.
- The position of your widget in the email, whether it should be at the center or by the side.
After giving a name to the widget and selecting the appropriate options from the drop-down menus, click "NEXT".
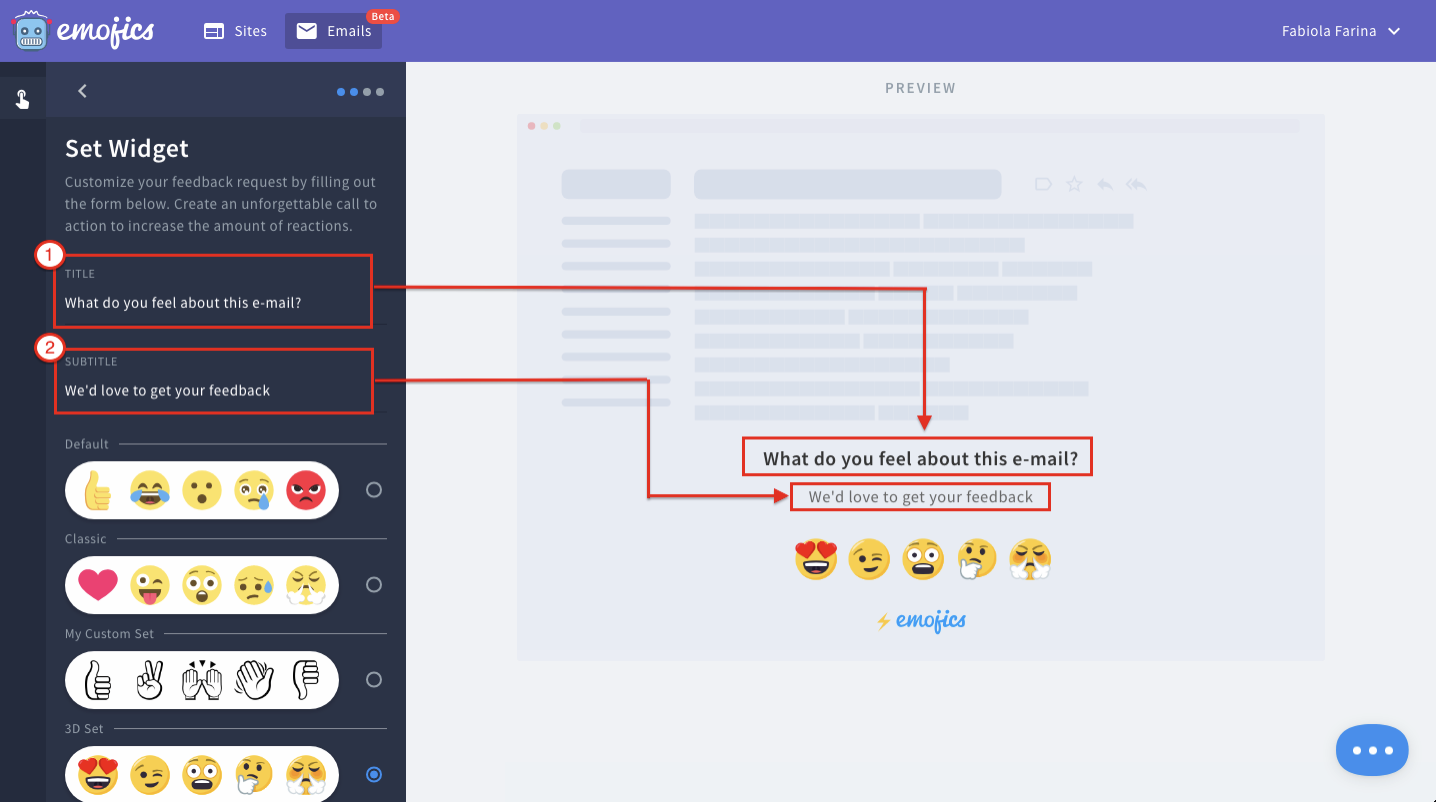
Now write your "Call to Action", that is, an instruction for your users designed to persuade them to click on the widget.
Our CTA consists of a Title (1) and a subtitle (2) as shown in the figure.
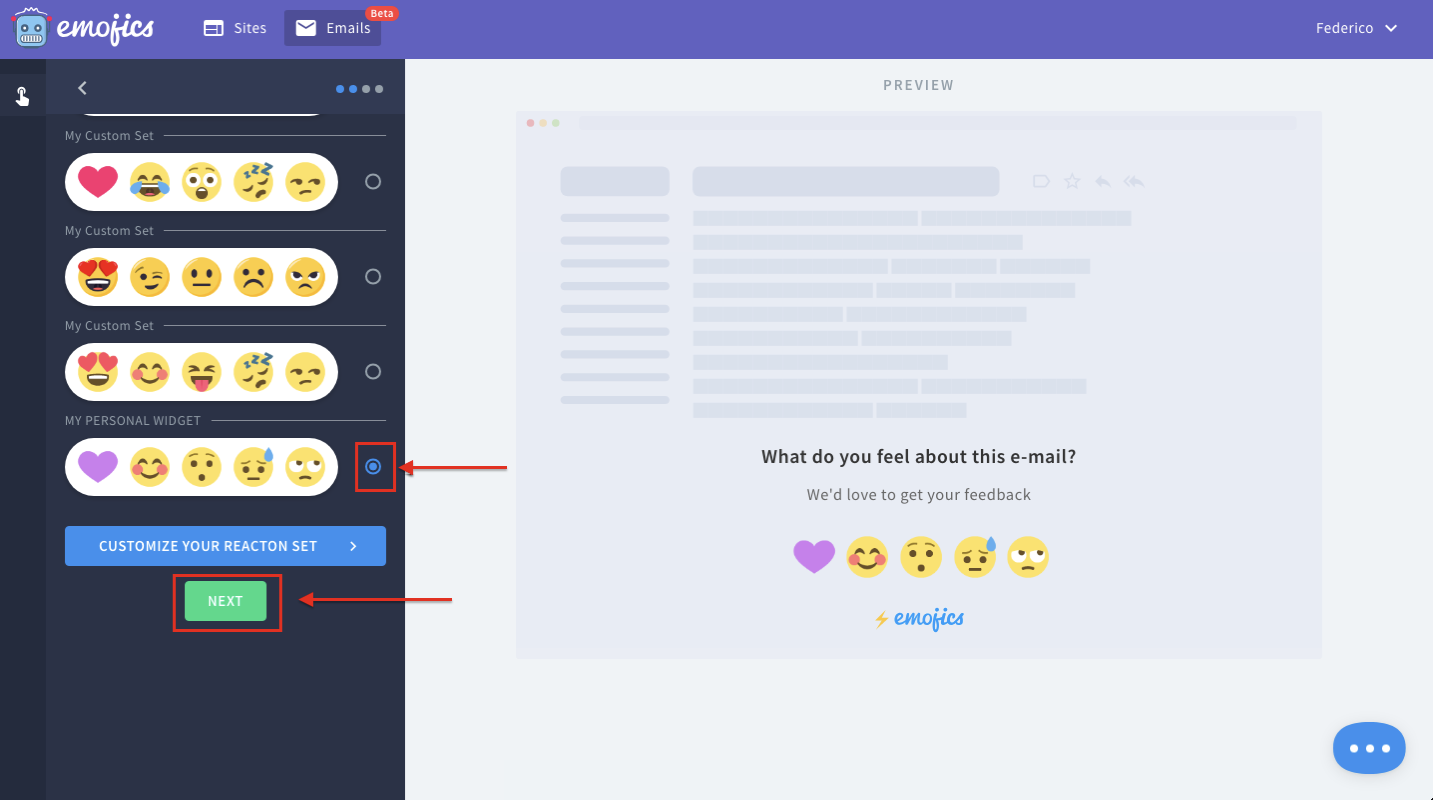
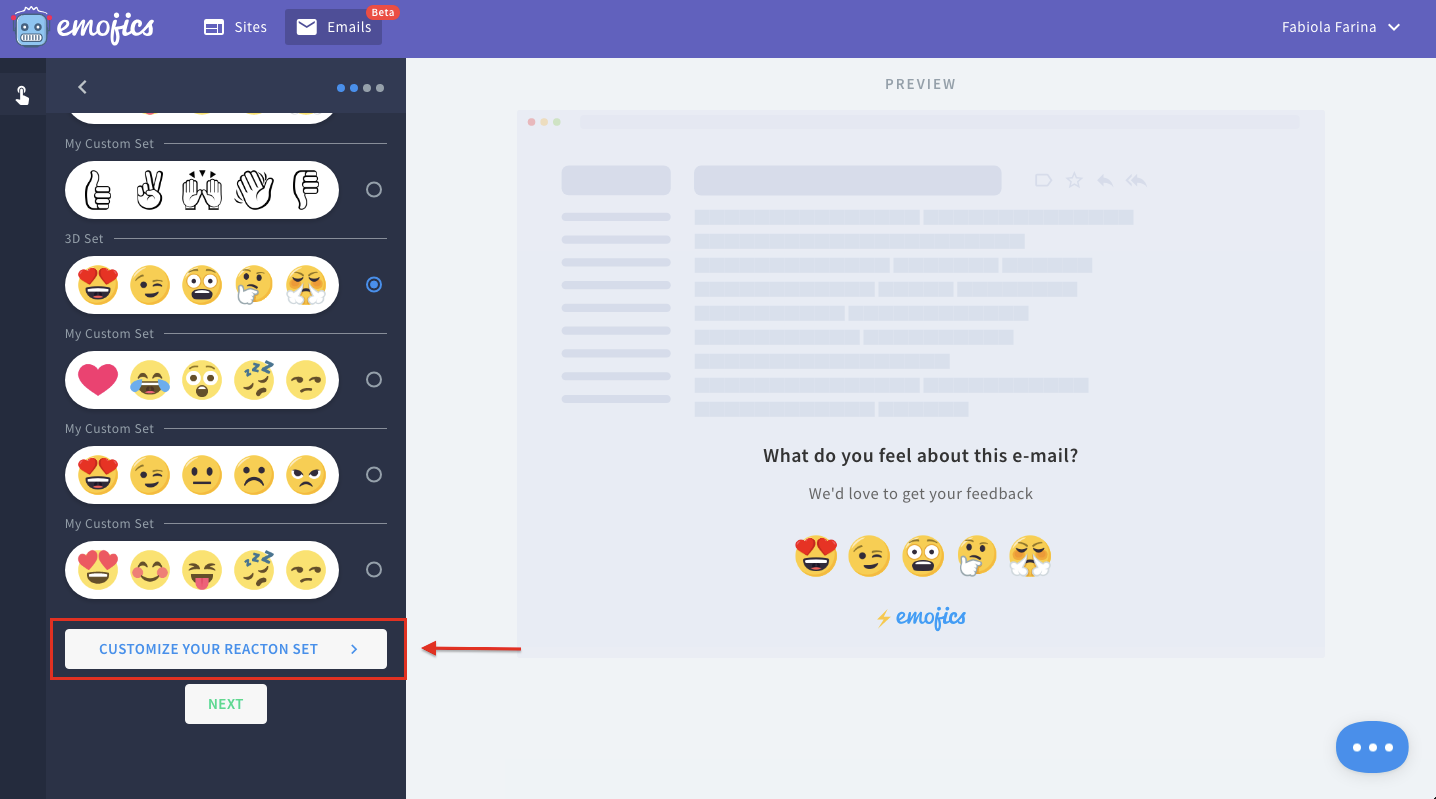
Next, select the set of emojis that you’d like to use. You can choose from a set of default widgets or you can create new ones by clicking on "Customize your reaction Set", as shown in the figure below.
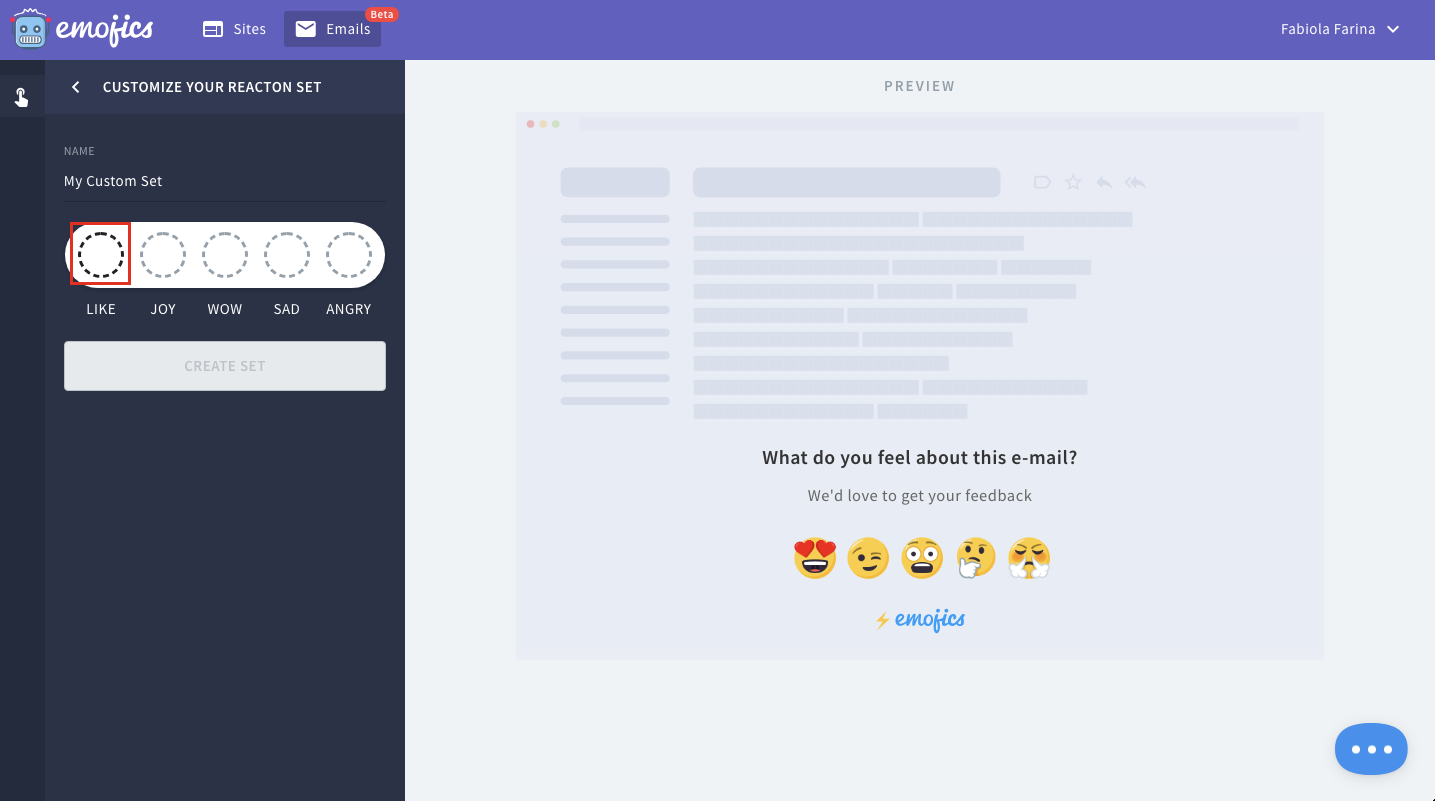
To personalize your emoji set, you’ll need to choose the individual emojis you want to use by clicking on the empty circle of each single reaction in the widget.
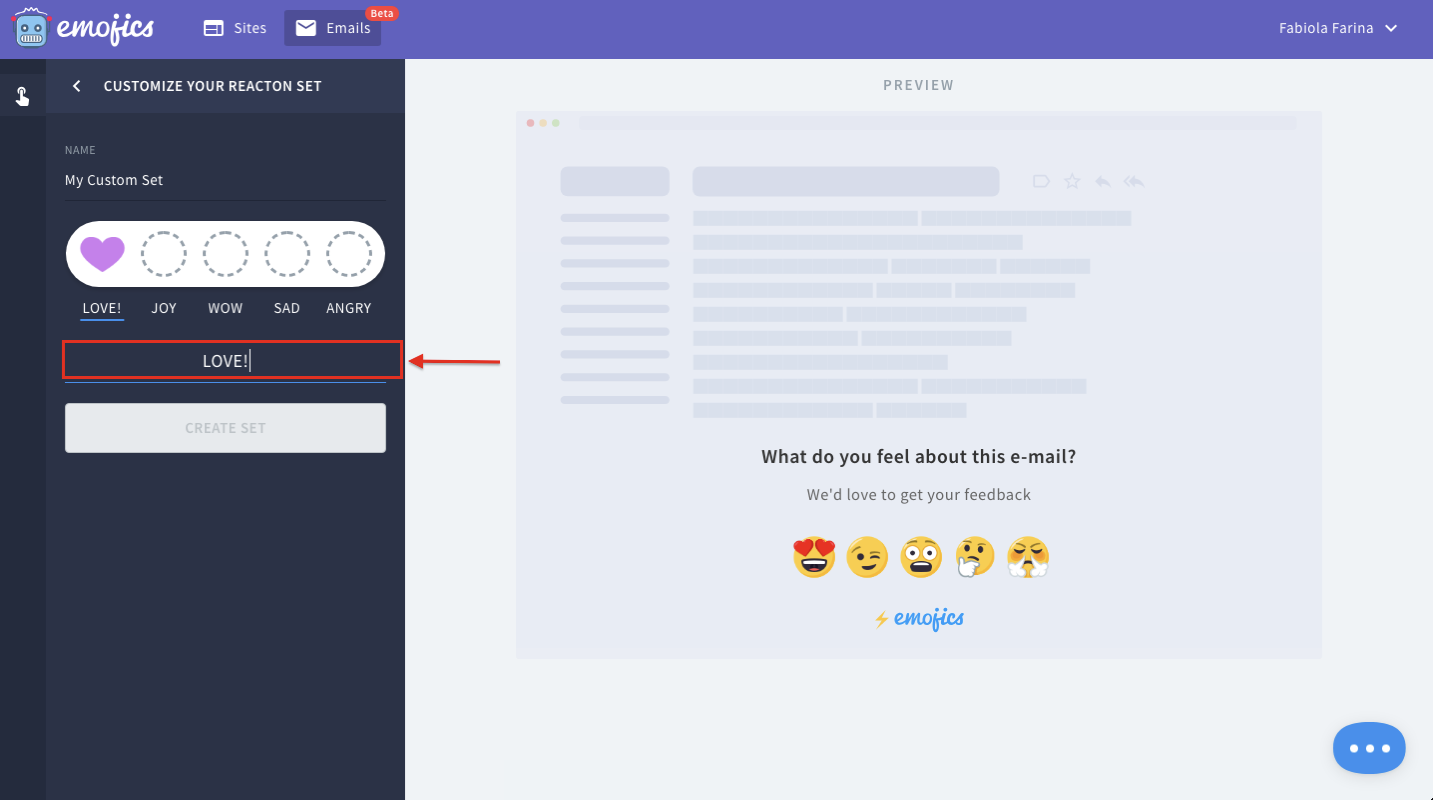
You can also edit the label of the emoji reaction that appears when a user hovers over any individual emoji by modifying the text, as shown in the figure below.
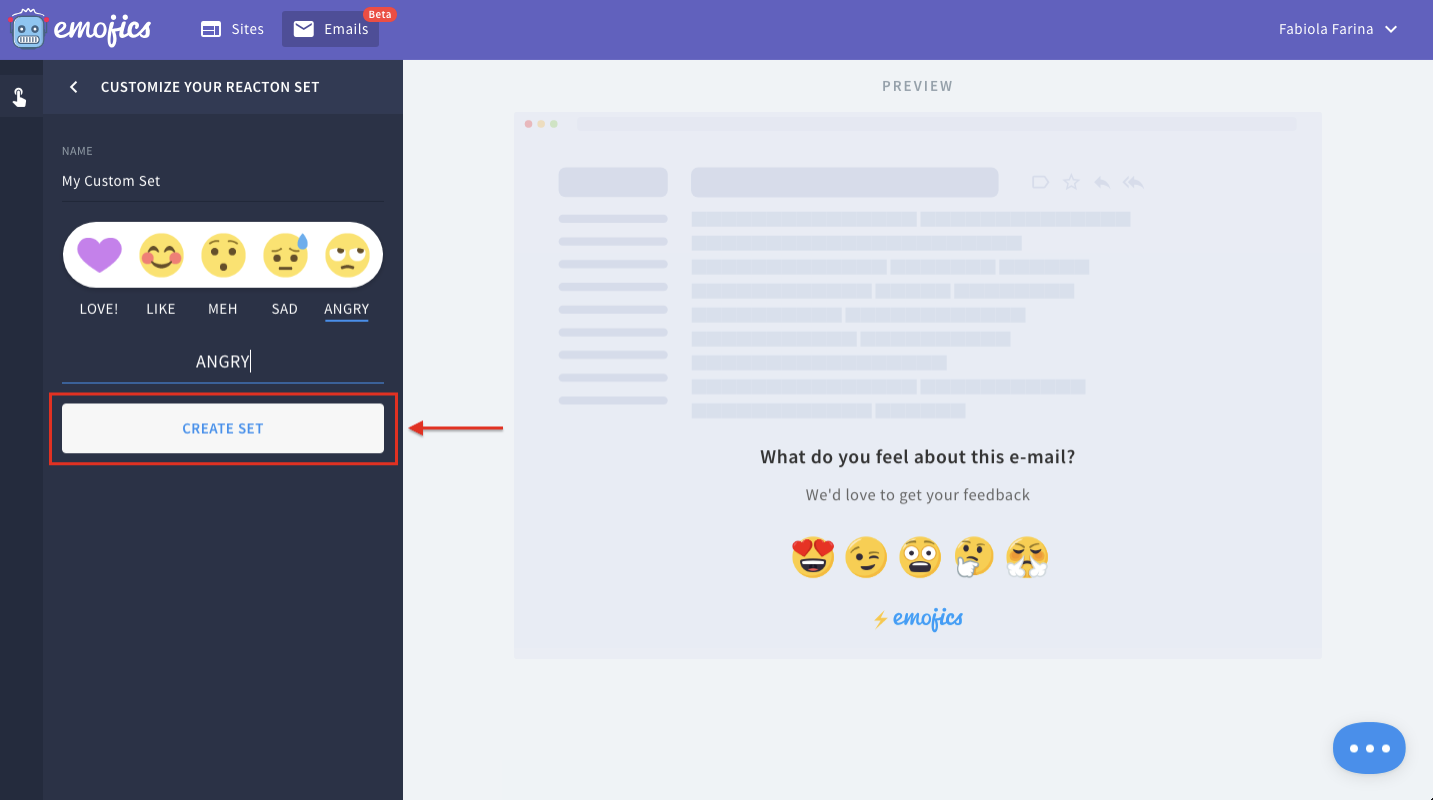
Once you have selected the custom widget reactions you’d like your users to see, click on "Create Set" as shown in the figure.
At this point, you’ll see your newly created widget among the default ones. Choose your personalized widget and click ‘NEXT’.